Two-inch recessed lighting is a compact, versatile solution for homeowners looking to add ambient illumination without the bulk of larger fixtures. These small-diameter downlights fit neatly into tight spaces, think under-cabinet runs, soffit areas, and low-ceiling rooms, where standard 4-inch or 6-inch recessed lights simply won’t work. Unlike surface-mounted fixtures that eat up visual real estate, 2 inch recessed lighting maintains clean sightlines while delivering focused, energy-efficient light. Whether upgrading a kitchen soffit, illuminating a closet, or layering light in a modern bathroom, understanding what these fixtures offer and where they truly shine makes the difference between a polished installation and regrettable waste of electrical circuits and drywall.
Table of Contents
ToggleKey Takeaways
- Two-inch recessed lighting is ideal for soffits, low-ceilinged rooms, closets, and accent applications where standard 4-inch or 6-inch fixtures won’t fit or appear too bulky.
- Always verify whether your 2 inch recessed lighting requires IC (insulation contact) rating based on your ceiling cavity—non-IC fixtures need a critical 3-inch clearance from insulation to prevent fire hazards.
- LED bulbs with 450–600 lumens, color temperatures between 2700K–4000K, and high CRI (90+) deliver energy efficiency, natural colors, and long-lasting performance for 2 inch recessed fixtures.
- Proper spacing (12–18 inches apart) and strategic dimmer compatibility maximize light output and energy savings while maintaining the refined aesthetic that makes 2 inch recessed lighting visually superior to surface-mounted alternatives.
- Electrical installation requires shutting off power, running appropriate gauge NM cable, using rated connectors, and checking local code—DIY mistakes create fire and shock hazards, so hire a licensed electrician if unsure.
What Is 2 Inch Recessed Lighting?
Two-inch recessed lighting refers to downlights with a trim ring opening of 2 inches in diameter, a significantly smaller footprint than the industry-standard 4-inch fixture. The entire assembly sits flush inside a trim ring, with the bulb and reflector recessed into the ceiling cavity, creating an unobtrusive look that architects and designers favor for contemporary spaces.
These fixtures come in both IC (insulation contact) and non-IC varieties. IC-rated fixtures are safely rated for direct contact with insulation, essential if your ceiling cavity is packed with fiberglass or mineral wool. Non-IC fixtures require a 3-inch clearance around the housing, a critical safety detail that prevents fire risk and overheating. Check your ceiling assembly before purchase.
Most 2 inch recessed lights accept GU10, MR11, or GU5.3 (MR16) LED or halogen bulbs, each with different wattages, color temperatures, and beam spreads. LED versions have become the standard due to reduced heat output, longer lifespan (often 25,000+ hours), and dramatically lower energy consumption compared to older halogen equivalents.
Best Applications for Small Recessed Lights
Two-inch fixtures thrive in specific, well-defined applications where larger downlights create visual clutter or won’t physically fit.
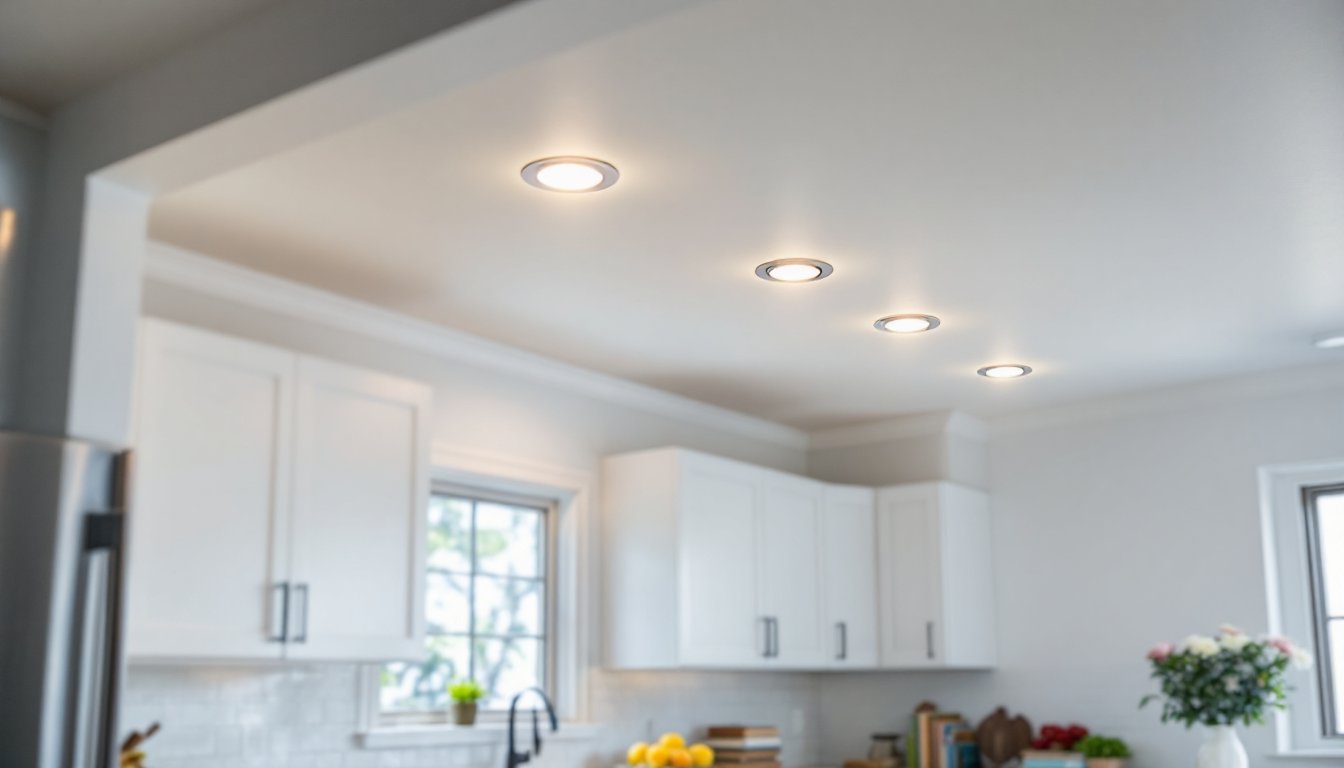
Kitchen soffits and valances are the prime use case. Running a row of 2 inch lights under a soffit creates elegant, even under-cabinet illumination without the harsh shadows of dedicated task lighting. Space them 12 to 18 inches apart for continuous light wash.
Low-ceiling rooms and basements benefit from 2 inch recessed lights because the compact trim ring doesn’t intrude visually, and the shallow housing (typically 2.5 to 3 inches deep) fits into minimal cavity space, crucial when you’ve only got 4 inches between drywall and the rim joist.
Closets and tight utility spaces are natural fits. A single 2 inch fixture overhead casts enough light for dressing and inventory without the installation fussiness of larger models.
Accent lighting in niches and shelving showcases art, collectibles, or architectural features with a refined touch that spotlight-size fixtures cannot match. Recessed 2 inch lights keep the focus on the object, not the light source.
They also work well in bathrooms with limited soffit space, where a master bath might need supplemental light above the vanity mirror without losing the streamlined aesthetic of the overall design. But, ensure the fixture is rated wet location if positioned above a shower enclosure.
Key Features to Look for When Selecting 2 Inch Fixtures
Selecting the right 2 inch recessed fixture depends on five core factors:
Color temperature and CRI (Color Rendering Index). Look for bulbs in the 2700K to 3000K range for warm, inviting light in living areas, or 3500K to 4000K for task-focused spaces like kitchens and bathrooms. CRI of 90 or higher ensures colors appear natural, crucial if displaying artwork or selecting paint samples.
Beam angle. Narrow beams (25° to 30°) concentrate light on a small area, ideal for accent work. Wide beams (40° to 50°) spread light across a broader space, better for general illumination. Check the bulb specification sheet, not the fixture itself.
Dimming compatibility. If you want flexibility, confirm the fixture and bulb support 0-10V dimming or TRIAC dimming. Not all LED bulbs dim smoothly: cheap ones flicker. Spend a few dollars more for a reputable brand (Philips, Cree, or Sylvania) that specifies dimming performance.
Trim finish options. White, black, brushed nickel, and chrome are standard. Trim color should coordinate with your ceiling: white blends into white ceiling, while black creates visual definition in contemporary designs.
Housing depth and IC rating. Measure your ceiling cavity before ordering. If insulation touches the housing, you must buy IC-rated fixtures. If you buy non-IC and install it under insulation, you risk overheating, fire, and voided insurance coverage. This is non-negotiable.
Installation Considerations and Requirements
Installing 2 inch recessed lighting isn’t complicated, but it demands attention to detail and proper planning.
Planning and layout. Mark fixture locations on the ceiling before cutting any holes. For soffit runs, measure the soffit width and space fixtures evenly, typically 12 to 18 inches apart. Use a level and measuring tape: pencil marks and rough estimates lead to crooked, unattractive rows.
Cutting and fitting the housing. After locating the stud and joist positions with a stud finder, drill a pilot hole at each fixture point. Use a 2 1/8-inch drywall saw (the standard cutter for 2 inch housing) to cut the hole. A drywall saw is sharper and more controllable than a hole saw for this size: a hole saw can bind and tear drywall.
Electrical connection. Run 14/2 or 12/2 NM cable (depending on circuit amperage and local code) from your breaker panel or junction box through the ceiling cavity to each fixture. Shut off power at the breaker before working. Connect the fixture wires to the supply cable using wire nuts rated for LED loads, standard copper connectors work, but insulated push connectors (like Wago connectors) reduce connection failures. This is electrical work: if you’re unsure of your local code or your skill level, hire a licensed electrician. Mistakes here create fire and shock hazards.
Securing the housing. Most 2 inch housings use friction clips or spring-loaded flanges that grip the drywall from inside the cavity. Insert the housing into the cutout, and the clips engage automatically. Some retrofit fixtures use adhesive backing, which works for lightweight LED bulbs but can fail over time, friction-clip housings are more reliable.
Finishing the trim. After drywall tape and mud (if you’re finishing the opening), install the trim ring and bulb. Ensure the trim sits flush against the ceiling: gaps indicate the housing isn’t fully seated.
Permits and inspections. Check local code. Adding a handful of recessed lights to an existing circuit may not require a permit in many jurisdictions, but running new circuits or adding significant load almost certainly does. When in doubt, ask your local building department or hire a licensed electrician, the cost of a permit inspection is far less than a wall fire or an insurance claim.
Comparing 2 Inch Lights to Other Recessed Lighting Sizes
Understanding how 2 inch recessed lights stack up against common alternatives clarifies when to use them versus other options.
2 inch vs. 4 inch recessed lights: Four-inch fixtures are the industry standard for general-purpose ceiling illumination. They output more light (typically 600 to 1200 lumens per fixture) and are cheaper per unit. But, they require 4 1/8 inches of ceiling cavity depth and look bulky in low-ceilinged or tightly finished spaces. Use 4 inch fixtures for open kitchens, living rooms, and basements where headroom and visual impact aren’t constraints. Reserve 2 inch fixtures for soffits, closets, and accent applications.
2 inch vs. 6 inch recessed lights: Six-inch fixtures are designed for high-output general lighting and commercial installations. They’re overkill for residential work and take up significant ceiling real estate. Rarely appropriate in homes unless you’re retrofitting a large commercial space.
2 inch vs. surface-mounted or track lighting: Surface-mounted fixtures and track systems are easier to install (no ceiling cavity required) but visually protrude. They work in unfinished basements or garages but feel dated or industrial in refined living spaces. Recessed lighting, including 2 inch, looks cleaner and is worth the installation effort if your ceiling allows it.
2 inch vs. LED tape and under-cabinet strips: Thin LED strips are fantastic for continuous soft light under cabinets or shelving, but they can’t match the focused, design-forward look of a 2 inch recessed fixture in a soffit or niche. Use strips for ambient wash: use recessed fixtures for defined illumination.
Tips for Maximizing Light Output and Energy Efficiency
Getting the most from 2 inch recessed lighting requires smart bulb selection and strategic placement.
Choose high-lumen LED bulbs. Modern GU10 LED bulbs rated 450 to 600 lumens are bright enough for task lighting while consuming only 5 to 7 watts, one-fourth the power of equivalent halogen. Verify the lumen output on the packaging: wattage alone is misleading.
Match color temperature to function. Warm 2700K light in living areas feels inviting and doesn’t interfere with sleep hormones if dimmed in evening spaces. Cool 4000K in kitchens and bathrooms provides alertness and reveals color accuracy. Mixing temperatures in the same room looks disjointed.
Space fixtures thoughtly. Tighter spacing (12 inches) on dimmed circuits creates ambient wash, while wider spacing (18 to 24 inches) with full brightness delivers focused task light. There’s no single “correct” spacing, design based on your intended use.
Use dimmer switches. Even fixed 2 inch recessed lights paired with a good dimmer save energy and extend bulb life by reducing watts when full brightness isn’t needed. Ensure your dimmer and bulbs are listed as compatible: cheap dimmers cause flickering.
Reflector color matters. Fixtures with white or mirror-finish reflectors bounce light more efficiently than dark finishes. This small detail can improve perceived brightness by 15 to 20 percent without changing bulbs.
Keep fixtures clean. Dust buildup on the trim ring and reflector reduces light output significantly. A yearly damp cloth wipe maintains full brightness.
Conclusion
Two-inch recessed lighting is a surgical tool for specific spaces, soffits, low ceilings, accent work, and tight utility areas where conventional recessed fixtures can’t fit or look out of place. They demand the same attention to wiring safety, housing depth, and trim finish as larger fixtures, but reward careful planning with a refined, modern aesthetic. Pair them with dimmable, high-CRI LED bulbs, space them strategically, and don’t skip the electrical work or permit requirements. When installed correctly, 2 inch recessed lighting transforms awkward spaces into well-lit, visually cohesive rooms.

