Outdoor lighting fixtures endure constant exposure to sun, rain, dust, and temperature swings, conditions that wear down even quality hardware. A fixture that glows brightly in spring can dim or flicker by summer if it’s neglected, or fail entirely when fall weather hits. Outdoor lighting maintenance isn’t complicated, but it does matter. Regular cleaning, timely bulb replacement, and preventive inspections keep fixtures working reliably for years while protecting your investment. This guide walks through seasonal upkeep, component replacement, weatherproofing strategies, and quick fixes that any homeowner can handle with basic tools.
Table of Contents
ToggleKey Takeaways
- Regular outdoor lighting maintenance prevents dim or failing fixtures by protecting against sun, rain, dust, and corrosion that can reduce brightness by 20–40% over a season.
- Deep-clean fixtures in spring with soft brushes and vinegar-water solutions, check gaskets and connections, and replace corroded sockets to catch small problems before they become costly repairs.
- Transition to LED bulbs (which last 25,000–50,000 hours) and replace them when burned out rather than relying on short-lived incandescent options that require frequent replacement.
- Apply protective coatings of marine-grade sealant or automotive wax to metal fixtures annually and inspect fall and winter debris around vents, especially in coastal or high-humidity areas.
- For dim, flickering, or non-functioning fixtures, start by replacing the bulb, checking wire connections and breaker status, and testing photocells—call a licensed electrician if issues persist.
- Address water intrusion by inspecting gaskets, removing standing water with a hair dryer, and considering IP67-rated fixture upgrades in wet locations near sprinklers or coastal zones.
Why Outdoor Lighting Maintenance Matters
Outdoor fixtures sit at the mercy of the elements. Unlike indoor lights tucked under roof soffits, path lights, wall sconces, and post-top lanterns face direct rain, UV radiation, salt spray (if you’re near the coast), and temperature extremes. Dirt, pollen, and debris settle on lenses and reflectors, reducing brightness by 20–40% over a season. Moisture creeps into sockets and ballast housings, corroding contacts and shortening bulb life. Wire connections loosen from vibration and thermal cycling. Neglecting these issues compounds them: a dim fixture goes dark, a loose wire creates a fire hazard, and corrosion spreads to nearby conductors. Regular maintenance catches small problems before they become expensive repairs. It also ensures your outdoor spaces stay safely lit, protects landscape investments, and keeps fixtures looking purposeful instead of dingy.
Seasonal Cleaning and Inspection
Spring and Summer Upkeep
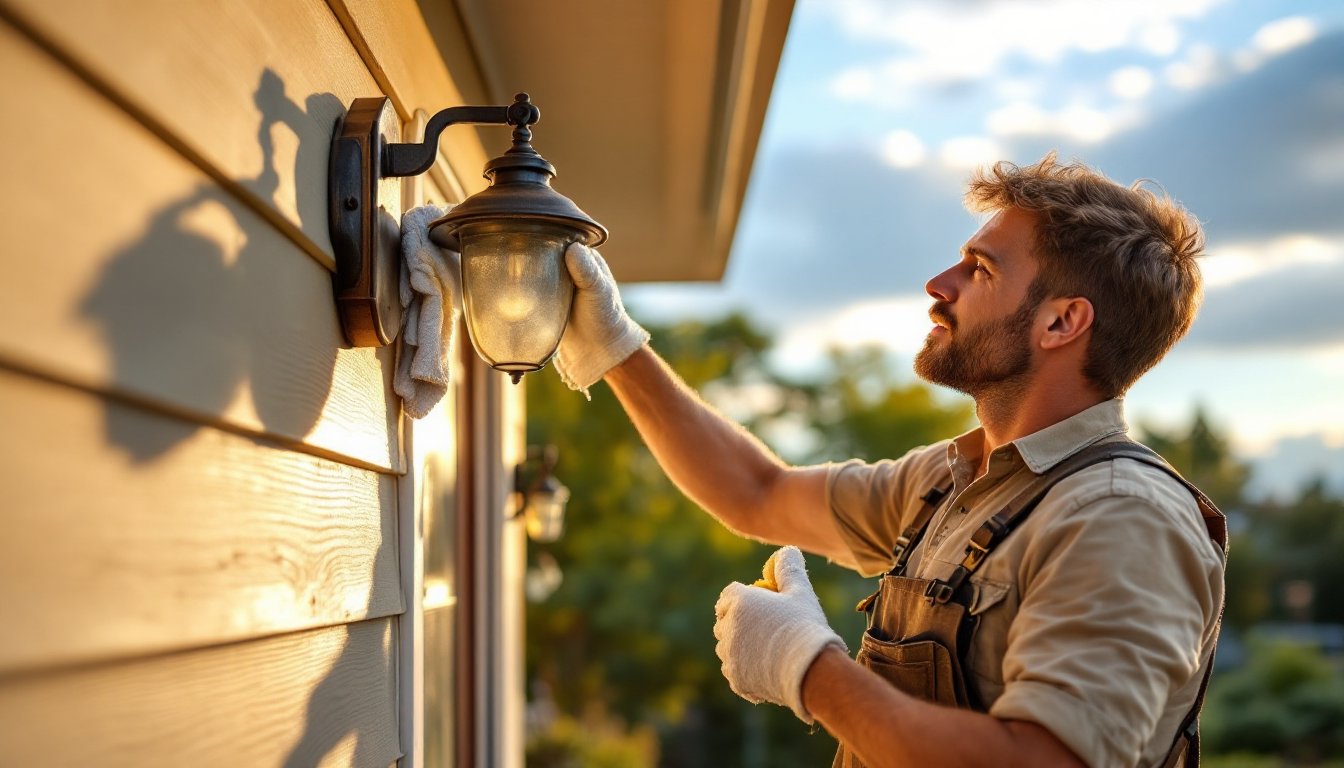
Early spring is the ideal time to deep-clean outdoor fixtures after winter grit has settled in. Turn off power at the breaker, then inspect each fixture. Look for cracks in plastic or glass, corrosion on metal parts, and insect nests inside housings. Use a soft brush or dry cloth to remove loose debris, then wipe lenses and reflectors with a slightly damp, lint-free cloth. For stubborn mineral deposits (hard water stains or salt residue), mix equal parts white vinegar and distilled water, apply with a cloth, and rinse thoroughly. Dry everything completely to prevent water spots.
Check all connections and gaskets. Gaskets (rubber seals) dry out, crack, or slip out of place: replace any that look compressed or damaged. Gently wiggle fixture mounting hardware to ensure bolts are snug, use a socket wrench if needed, but don’t over-tighten and strip the threads. Summer heat accelerates ballast wear in high-bay or metal halide fixtures, so inspect for discoloration or a burnt smell around the ballast housing: if you detect either, the ballast may be failing and should be replaced by a licensed electrician.
Fall and Winter Considerations
As temperatures drop and daylight shrinks, leaves and pine needles clog outdoor fixtures. Clear debris monthly, especially around fixtures with vents or perforations. Fall is also the right time to test backup systems: if you have sensor-controlled or timer-based lighting, test the switches and photocells to confirm they trigger correctly as dusk arrives earlier. Winter salt and ice are harsh on fixtures. Inspect for salt spray damage (white crusty corrosion) on metal parts: if present, use a wire brush to scuff off loose corrosion, then apply a thin coat of clear spray paint (like automotive clear coat) to slow future rust. Ensure water drains properly from fixtures: standing water in a lens housing will freeze, expand, and crack glass.
Replacing Bulbs and Components
Always turn off power at the breaker before touching bulbs or internal components. Wear clean cotton gloves when handling bulb glass (skin oils etch halogen and HID bulbs, shortening their lifespan). Check the fixture nameplate or original documentation for the correct wattage and type: incandescent, LED, halogen, CFL, or metal halide. Using the wrong type can overheat the fixture or void the warranty.
LED bulbs last far longer than incandescent (25,000–50,000 hours vs. 1,000) and consume less power, making them the smart choice for outdoor fixtures that run many hours daily. Transition gradual: swap out burned-out bulbs with LEDs rather than replacing everything at once, unless you’re overhauling the whole system. Some older fixtures may not dim smoothly with non-dimmable LEDs, so test before buying in bulk.
Beyond bulbs, fixtures sometimes need socket or ballast replacement. Ballasts are transformers that regulate current to HID lamps: a failing ballast creates buzzing, flickering, or refusal to start. Socket corrosion (greenish oxidation on brass contacts) is common near coastal areas: if contacts are corroded, clean with fine-grit sandpaper or replace the socket. A licensed electrician should handle high-voltage ballast or socket work, especially in pool or wet environments where the risk of shock is elevated.
Protecting Against Weather and Corrosion
Metal fixtures corrode fastest in humid or salty air. Before problems start, apply a thin protective coat of clear marine-grade sealant or automotive wax to unpainted aluminum and steel. Reapply annually or every two years depending on your climate zone. If corrosion has already begun, use a wire brush or fine steel wool to remove white or reddish oxidation, then seal immediately. For cast iron fixtures, touch up any chipped paint with rust-inhibiting paint (spray cans work well) to prevent rust from spreading underneath.
Gaskets and seals degrade faster in UV-rich climates (high-altitude or southern exposures). Inspect them every spring and replace as needed: they’re usually inexpensive and take minutes to swap. Look for caulk deterioration around fixture mounting points: if the existing caulk is cracked or pulling away, scrape it out, clean the surface, and recaulk with 100% silicone caulk rated for exterior use. This prevents water from wicking into walls and wood framing.
For fixtures in wet areas (near irrigation, sprinklers, or coastal locations), consider upgrading to IP67-rated fixtures (dustproof and submersible to 1 meter). Existing fixtures can be somewhat protected with extended silicone shrouds around sockets and connections, but replacement is more reliable if water intrusion is a chronic problem.
Common Problems and Troubleshooting
Dim or flickering light. Start by checking the bulb: unscrew it, inspect for blackening or a broken filament, and replace if needed. If a new bulb dims immediately, the fixture draws excessive current (ballast or socket failure) or there’s a loose wire connection. Gently wiggle wire nuts and terminal screws at the fixture base: if that doesn’t help, shut off power and inspect the breaker, a tripped or failing breaker will cause intermittent dimming across multiple fixtures.
Fixture won’t turn on. Confirm the breaker is in the ON position and the wall switch (or timer) is set correctly. If the breaker keeps tripping, don’t repeatedly reset it: there’s a short or overload somewhere. Stop using the fixture and call a licensed electrician. For sensor-controlled fixtures, test the photocell by covering it with your hand in daylight: the light should activate. If it doesn’t, the sensor cell may be dirty (wipe it clean) or failed (replace the unit or the entire fixture).
Water inside the lens. This is common and usually not an immediate emergency if the fixture is on. Turn it off, remove any standing water with a small sponge or cloth, and inspect for cracks or loose gaskets. Dry the interior with a hair dryer on low heat, then reinstall gaskets or caulk as needed. Heavy condensation in sealed fixtures is tricky: drill a tiny weep hole (1/16 inch) in the lowest point of the fixture housing to allow moisture to escape, or upgrade to a vented fixture design.
Rust or corrosion. For surface corrosion, scrub with a brass brush or fine steel wool, then wipe clean and seal. Deep rust pitting means the metal is compromised and replacement is safer than repair. Don’t paint over rust without prep: it’ll bloom back within months.

