Good kitchen island lighting makes the difference between a workspace that functions and one that frustrates. Pendant lighting over an island serves double duty: it provides task lighting right where you chop, prep, and cook, and it anchors the island as a design focal point. Unlike recessed fixtures that flood a kitchen uniformly, pendant lights deliver targeted illumination while adding personality to the room. Whether someone’s building a new island or upgrading an existing one, getting the height, spacing, and style right takes planning, but it’s absolutely doable as a DIY electrical project for those comfortable working with wiring, or as a guided effort with a licensed electrician handling the rough-in.
Table of Contents
ToggleKey Takeaways
- Kitchen island pendant lighting eliminates shadows and reduces eye strain by delivering targeted task lighting directly above the work surface, making meal prep safer and more efficient.
- Pendant diameter should measure between one-third and one-half of the island width, while hanging 30 to 36 inches above the countertop to balance focused illumination with comfort and sight lines.
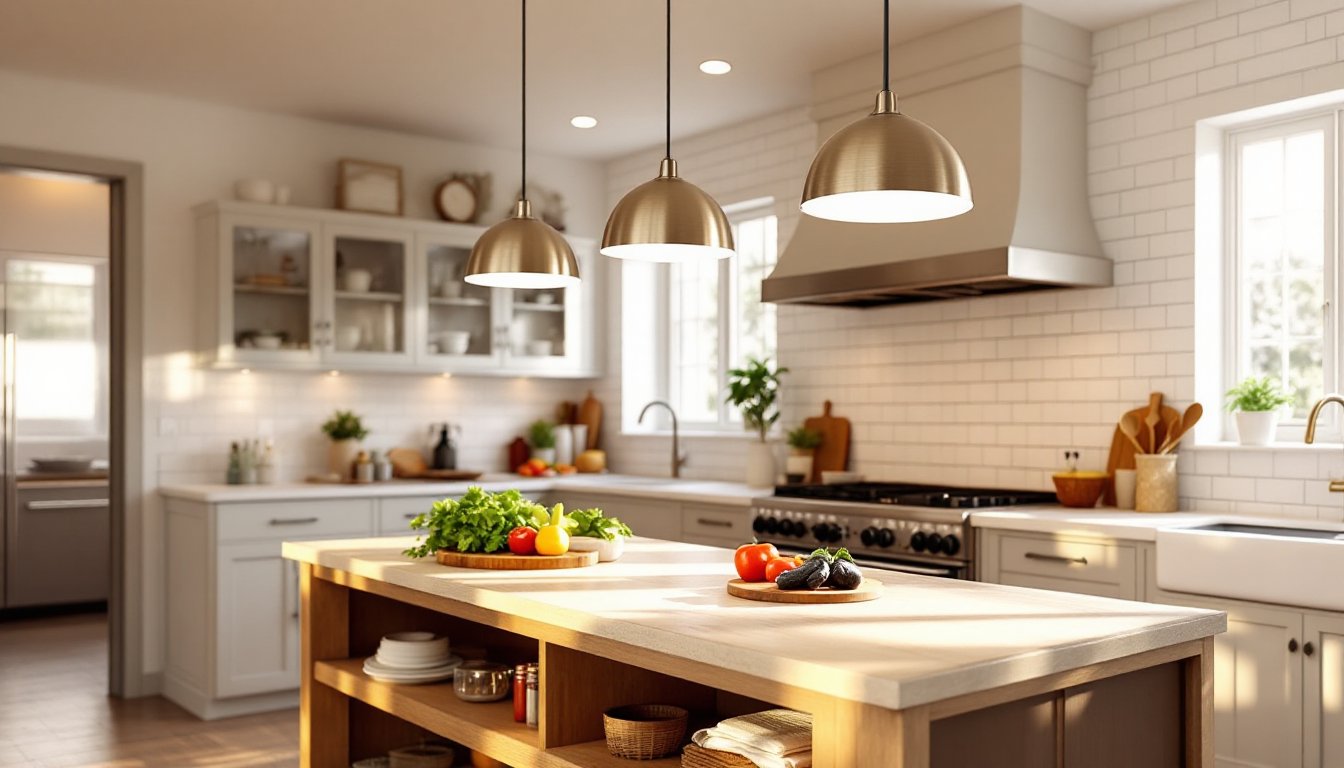
- Proper spacing—typically three pendants for 6-foot islands and four for 8-foot islands—with 18 to 24 inches from the outer edges, creates visual balance and prevents a cramped appearance.
- Layered lighting using pendants for task light, recessed fixtures for ambient light, and accent lighting ensures functionality; aim for 600 to 800 lumens per pendant when paired with general lighting.
- Material selection matters in kitchens: choose glass, ceramic, or powder-coated steel that resist moisture and splatter, and position fixtures at least 18 inches from gas ranges to avoid heat and soot damage.
- Installing island pendant lighting over the countertop requires locating solid framing with a stud finder and, for new electrical runs, involving a licensed electrician to handle safe wiring and local permitting requirements.
Why Pendant Lighting Is Essential for Island Kitchens
An island is typically the busiest zone in a kitchen. People set groceries down, chop vegetables, assemble meals, and do assignments at the island surface. Without focused overhead lighting, that same area becomes a shadow-filled workspace, or worse, someone leans over their work and blocks ambient light with their own body.
Pendant lights mount directly above the island and aim light straight down onto the work surface below. This eliminates shadows and reduces glare compared to distant ceiling fixtures. Task lighting in this location also reduces eye strain during detailed work like decorating a cake or julienning vegetables.
Beyond function, pendant lighting defines the island as a design anchor. Kitchens that rely solely on recessed ceiling lights often feel generic. A set of well-chosen pendants signals intention and style, whether someone picks industrial Edison bulbs, sleek glass drums, or warm ceramic forms. The island becomes a statement piece, not just a counter.
Choosing the Right Pendant Style and Size
Pendant size should be proportional to the island. A common rule is to keep pendant diameter between one-third and one-half the width of the island. If the island is 36 inches wide, pendants should measure roughly 12 to 18 inches in diameter. Undersized pendants look skimpy and fail to deliver enough visual weight: oversized ones can feel top-heavy and block sight lines across the kitchen.
Height and ceiling clearance matter too. Most kitchens have 9-foot ceilings. A typical pendant hangs 30 to 36 inches below the ceiling, placing the bottom of the fixture about 6 to 8 feet above the island surface, high enough not to interfere with tall guests or create a cramped feeling, but low enough to provide focused light.
When selecting pendants, consider whether the fixture will be a statement piece or a supporting element. Dramatic styles like sculptural ceramic or handblown glass draw eyes and suit contemporary or eclectic kitchens. Neutral, clean designs in brushed metal or white ceramic complement minimalist or farmhouse aesthetics and are forgiving if someone changes kitchen colors later.
Popular Pendant Styles and Materials
Industrial/Vintage: Metal cages, Edison bulbs, and exposed filaments suit modern-rustic or loft-style kitchens. These fixtures are durable and often affordable.
Mid-Century Modern: Cone or dome-shaped shades in metal or ceramic, often on wooden or brass arms. They work well in kitchens with period furniture or clean-lined cabinetry.
Glass or Acrylic: Clear, frosted, or colored glass pendants offer subtle style and let light distribute broadly. They’re less visually heavy and adapt to many color schemes.
Farmhouse/Cottage: Rustic materials like wrought iron, rope, or distressed wood pair with softer light. Common in traditional or transitional kitchens.
Minimalist/Contemporary: Simple cylinders, spheres, or rectangular shades in matte finishes suit modern and Scandinavian designs.
Material durability matters in a kitchen. Glass, ceramic, and powder-coated steel resist moisture and splatter better than raw wood or unfinished metal. If someone has a gas range nearby, ensure pendants sit far enough back to avoid heat and soot, at least 18 inches from the range edge, ideally more.
Height, Spacing, and Installation Best Practices
Proper mounting height is crucial. The bottom of the pendant should sit 30 to 36 inches above the island countertop, not the ceiling. This distance keeps the light source low enough for effective task lighting while remaining high enough not to strike someone leaning over the counter. In kitchens with unusual ceiling heights, measure from the countertop up, not down from the ceiling.
Before drilling any holes, ensure the mounting location is structurally sound. Island counters often rest on a frame or base underneath. Run a stud finder to locate solid wood in the base, or use a drill bit sized to your anchor (typically 3/16-inch for standard toggle bolts or 1/4-inch for heavy-duty anchors) to confirm you’re hitting framing, not hollow space. If anchoring into drywall alone, use heavy-duty toggle bolts or molly bolts rated for the weight of the fixture plus any sway from vibration.
For electrical connections, the pendant junction box must be rated for the fixture weight and wired correctly. If no junction box exists at the island location, running new electrical requires opening ceiling or cabinet areas and, typically, a licensed electrician’s involvement (permitting varies by jurisdiction).
Proper Pendant Spacing and Placement
When installing multiple pendants over an island, spacing them evenly creates visual balance. For a 6-foot island, three pendants work well: for an 8-foot island, four is common. Divide the island length into equal sections and position each pendant in the center of its zone.
Leave at least 18 to 24 inches between the outer edge of each pendant and the corner or end of the island. This prevents the fixtures from feeling cramped or visually top-heavy.
The width of the island matters too. If the island is narrow (under 24 inches wide), a single centered pendant suffices. For wider islands (30 inches or more), two or three pendants distribute light more evenly and look intentional rather than sparse.
Use braided electrical cables or metal chains in coordinating finishes to hang the fixtures. Chrome, brass, matte black, and white cables are common. Avoid plastic coatings that can look cheap: braided or smooth metal finishes age better and suit most styles.
Lighting Layering and Brightness Considerations
Kitchen island pendants should never be the only light source in a kitchen. Effective lighting design uses layers: ambient light (overall room illumination), task light (focused light where work happens), and accent light (highlighting design features).
Pendants function as task lighting. Ambient lighting typically comes from recessed ceiling fixtures, a central fixture, or under-cabinet strips. Accent lighting might include toe-kick lights under the island or display lighting inside open shelving.
For brightness, measure in lumens, not watts. A single pendant over an island typically needs 600 to 800 lumens if paired with general ambient lighting: if it’s the primary light source, aim for 1000+ lumens. Most LED bulbs are labeled by lumen output. A 60-watt equivalent LED produces roughly 800 lumens. Fixtures with multiple bulbs or dimmable capability offer flexibility, brighter for detailed tasks, dimmer for ambient evening light.
Color temperature affects mood and visibility. 3000K (warm white) creates a cozy feel and suits traditional kitchens: 4000K to 5000K (cool white) provides brighter, more natural-looking task light and suits contemporary spaces. Many homeowners prefer 3000K for islands as a middle ground, warm enough to feel inviting, bright enough for cooking.
Shadow patterns from pendant fixtures can be distracting during meals if the fixtures cast harsh shadows on the island surface. Frosted or diffused shades reduce this effect. Bare bulb styles look stylish but can create sharp shadows and glare. If choosing bare bulb pendants, pair them with additional under-cabinet or ambient lighting to soften the effect.
Conclusion
Kitchen island pendant lighting combines aesthetics, function, and thoughtful placement. Starting with proportional sizing, correct height placement, and even spacing, a homeowner can transform an island from a utility surface into a designed focal point. Pairing pendants with proper brightness levels and complementary ambient light ensures the island works hard during meal prep while looking intentional any time someone walks into the kitchen. With careful planning and, when needed, professional electrical help, hanging island pendants is an achievable upgrade that pays dividends in both usability and style.

