Sanding cabinets is a crucial step if you want a flawless paint job that lasts. I’ve learned that proper preparation can make all the difference in achieving a smooth, professional finish. Whether you’re updating your kitchen or giving your bathroom a fresh look, knowing how to sand your cabinets effectively can save you time and frustration.
Key Takeaways
- Importance of Sanding: Proper sanding is essential for optimal paint adhesion and durability, ensuring a smooth finish on cabinets.
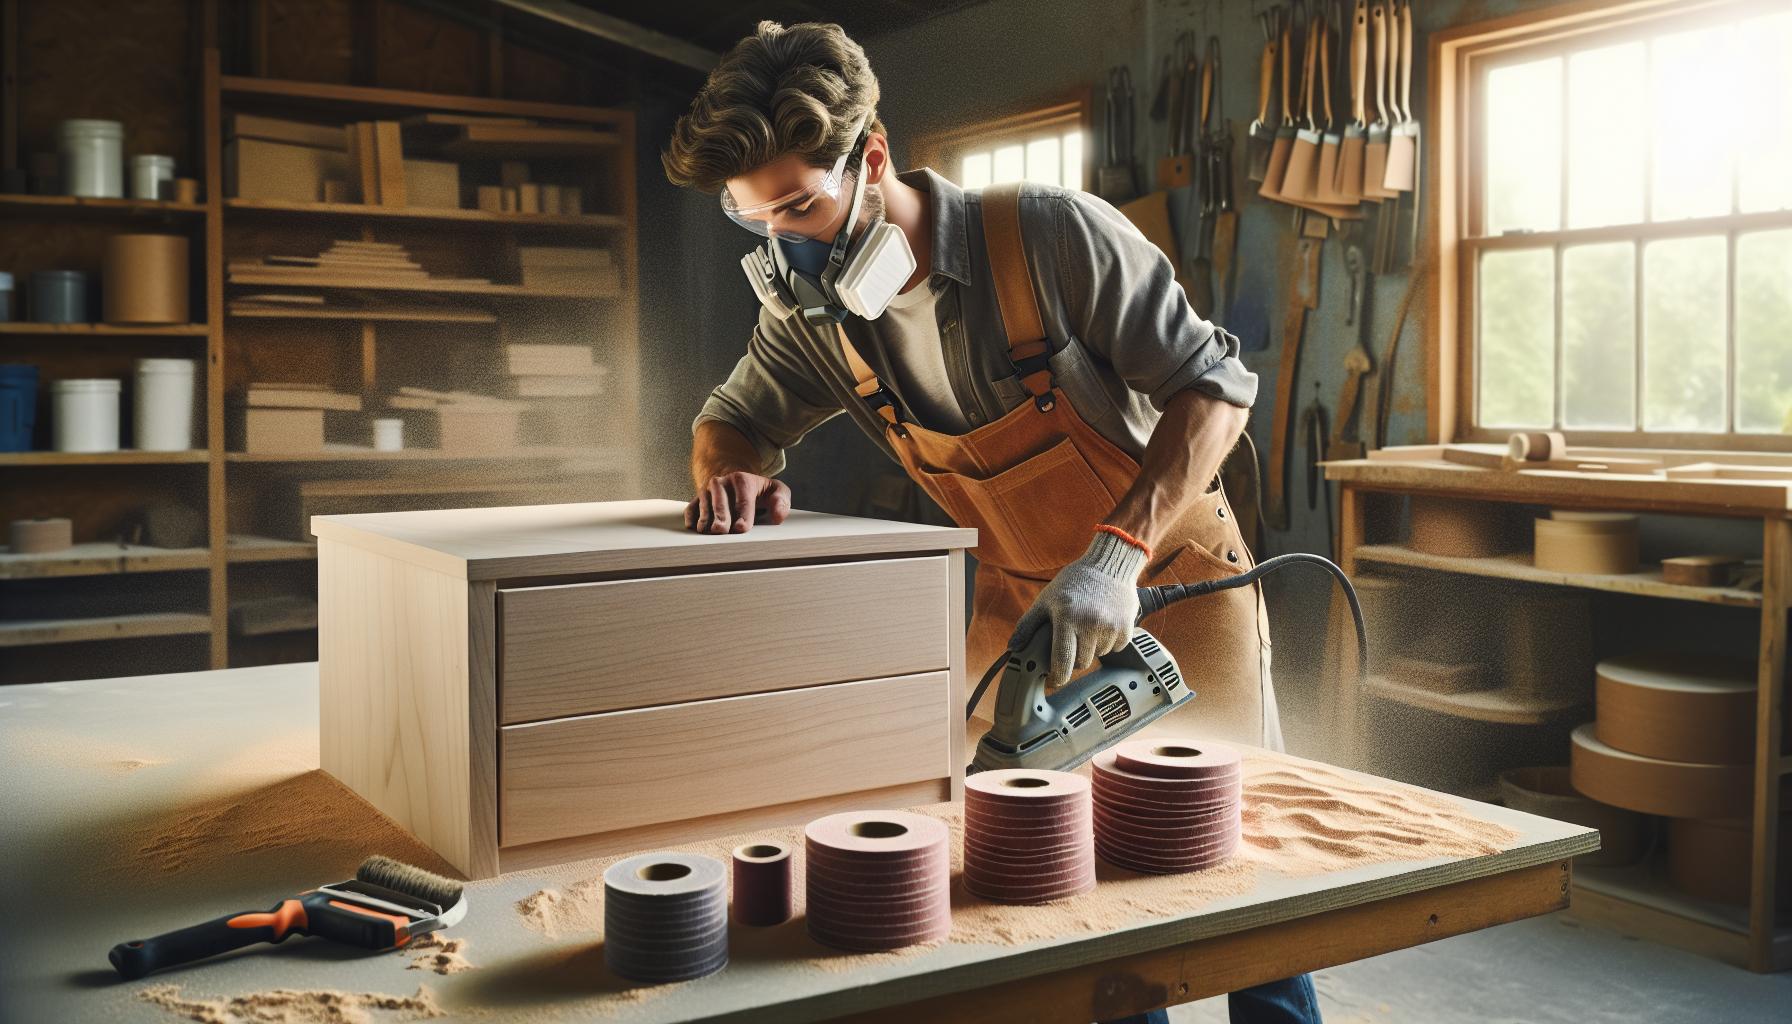
- Tools Required: Essential tools for sanding include an electric sander, various grit sandpaper (80-220), a sanding block, a vacuum or dust collector, and safety gear like dust masks and goggles.
- Sanding Techniques: Use even pressure and sand along the wood grain to avoid scratches. Progress from coarse to fine sandpaper for the best results.
- Workspace Preparation: Clear the area, provide ventilation, and protect surfaces from dust to enhance efficiency and cleanliness during the sanding process.
- Common Mistakes to Avoid: Key pitfalls include skipping surface cleaning, using incorrect grit sandpaper, applying uneven pressure, neglecting safety gear, and over-sanding.
- Final Inspection: Always inspect the surface post-sanding for smoothness and evenness to ensure a quality paint application.
Importance Of Sanding Cabinets Before Painting
Sanding cabinets before painting ensures optimal paint adhesion and durability. Smooth surfaces allow paint to grip effectively, reducing the likelihood of peeling or chipping over time. Cabinets with texture or imperfections can hinder the paint’s ability to adhere, resulting in an uneven finish.
Sanding also eliminates existing finishes, such as varnish or gloss, that may prevent new paint from adhering properly. Removing these layers creates a uniform surface that enhances the overall appearance of the cabinets once painted. Additionally, this preparatory step helps smooth out any scratches, dents, or blemishes, leading to a flawless look.
Proper sanding techniques can improve the final coat’s appearance, ensuring a professional-grade finish. Sanding with finer grits prepares the surface for paint application, allowing for a smoother and more visually appealing result. Overall, effective sanding plays a crucial role in the success of any cabinet painting project.
Tools And Materials Needed

Successful cabinet sanding requires specific tools and materials to ensure a smooth and effective process. Below are the essential items for sanding cabinets properly.
Sanding Tools
- Sander: An electric sander like a random orbit sander or a palm sander expedites the process. These tools provide consistent results and reduce manual effort.
- Sandpaper: A range of sandpaper grits is necessary, typically from 80 to 220 grit. Coarse grits (80-120) remove old finishes and smooth rough areas, while fine grits (180-220) refine the surface for painting.
- Sanding Block: A sanding block helps maintain even pressure on flat surfaces. It’s useful for areas that an electric sander can’t reach, ensuring uniformity.
- Vacuum or Dust Collector: Keeping the workspace clean is crucial. A vacuum or dust collector minimizes dust accumulation, promoting better adhesion when painting.
- Dust Mask: A dust mask protects against inhaling dust particles during sanding. Look for N95 or higher-rated masks for effective filtration.
- Safety Goggles: Safety goggles shield eyes from dust and debris. Opt for sturdy, well-fitting options to ensure full coverage.
- Hearing Protection: If using power tools, hearing protection can prevent long-term hearing damage. Use earplugs or earmuffs rated for noise reduction.
- Gloves: Wearing gloves protects hands from splinters and dust. Choose durable, disposable, or reusable gloves depending on preference.
Step-By-Step Guide On How To Sand Cabinets For Painting

Sanding cabinets is a straightforward process that requires attention to detail. Following these steps ensures a well-prepared surface for painting.
Preparing The Workspace
Preparing the workspace is crucial. I clear all areas around the cabinets, removing any obstacles. I ensure adequate ventilation by opening windows or using fans. I cover the floor and nearby surfaces with drop cloths to protect them from dust and debris. Keeping tools well-organized enhances efficiency during the project.
Cleaning The Cabinets
Cleaning cabinets before sanding is essential. I start by wiping down all surfaces with a mixture of soap and water or a degreaser to remove grease and grime. I dry the surfaces completely to prevent moisture from interfering with adhesion. If cabinets contain old finish, I consider using a solvent to remove it, allowing for better sand adherence.
Choosing The Right Grit Sandpaper
Choosing the right sandpaper grit matters significantly. I begin with 80-grit sandpaper for heavy removal of old finishes and rough surfaces. I switch to 120-grit sandpaper for smoothing out imperfections. Finally, I use 220-grit sandpaper to prepare the surface for painting, creating a fine finish that promotes optimal paint adhesion.
Sanding Techniques
Utilizing proper sanding techniques enhances results. I apply even pressure, working in the direction of the wood grain to avoid scratches. I move the sander or sanding block in overlapping strokes, ensuring uniform coverage. I frequently check my progress to avoid over-sanding in any area.
Inspecting The Surface
Inspecting the surface after sanding is vital. I examine all areas for smoothness and evenness, feeling for any remaining imperfections. If I find areas that require additional sanding, I address them promptly. Thorough inspection ensures that the cabinets are adequately prepared for the next step—painting.
Common Mistakes To Avoid

Avoiding common mistakes during the sanding process enhances the overall quality of my cabinet painting project.
- Skipping Surface Cleaning
Not cleaning the cabinets before sanding leads to poor adhesion. Dust, grease, and grime can interfere with the sanding process. - Using Incorrect Grit Sandpaper
Using too coarse or too fine sandpaper can impact results. Starting with an 80-grit paper for heavy removal, then progressing to 120-grit and finishing with 220-grit ensures a smooth surface. - Applying Uneven Pressure
Applying uneven pressure while sanding creates swirl marks and uneven surfaces. Maintaining consistent pressure prevents these defects. - Neglecting Safety Gear
Not wearing safety gear increases exposure to harmful dust and debris. Dust masks, goggles, gloves, and hearing protection are essential for protection. - Rushing the Process
Rushing through sanding can damage the wood or create an insufficient surface for paint adhesion. Taking time ensures thorough preparation and better paint performance. - Disregarding the Wood Grain
Sanding against the wood grain results in scratches that show through paint. Always sand with the grain for a smoother finish. - Over-sanding
Over-sanding weakens the wood and can cause issues during painting. Careful control of sanding depth avoids compromising the cabinet’s integrity. - Failing to Inspect the Surface
Not inspecting the surface after sanding can lead to unexpected flaws in the final paint job. Regularly check for smoothness and evenness to ensure quality.
By steering clear of these mistakes, I can achieve a flawless finish on my cabinets.
Sanding cabinets is more than just a chore; it’s a game-changer for your painting project. By investing time in this crucial step, I’ve seen firsthand how it transforms the overall finish and durability of the paint. The right techniques and tools make all the difference in achieving that professional look.
Taking the time to properly sand not only enhances paint adhesion but also ensures a smooth surface that highlights the beauty of the wood. I encourage you to follow the steps outlined and pay attention to the details. You’ll be amazed at the results you can achieve. Embrace the process and enjoy your newly refreshed cabinets.

