Bathroom lighting can make or break a space, literally and figuratively. Poor lighting leaves you squinting over the sink at 6 a.m., while the wrong fixture might catch moisture and corrode within a year. Flush mount lighting has become the go-to choice for most bathrooms, and for good reason. These fixtures sit close to the ceiling, providing even illumination without eating into headroom or collecting dust on a pendant stem. Whether you’re renovating a cramped powder room or updating a master bath, understanding flush mount options, installation requirements, and design choices will help you pick the right fixture and avoid costly mistakes.
Table of Contents
ToggleKey Takeaways
- Bathroom flush mount lighting sits close to the ceiling, saving headroom and providing even illumination without the dust collection issues of pendant fixtures.
- Choose a damp-location or wet-location rated flush mount fixture (verified by UL label) to resist moisture, steam, and corrosion in humid bathroom environments.
- Aim for 75–100 lumens per square foot over vanities for grooming tasks and 30–50 lumens per square foot for general ceiling lighting in bathrooms.
- Layer your lighting with warm white (2700K) for ambiance and cool white (4000K–5000K) for task-focused vanity lighting to balance relaxation and functionality.
- Always confirm your ceiling box capacity, turn off power at the breaker, verify GFCI protection, and follow local permit requirements before installing bathroom flush mount fixtures.
- Match your flush mount’s finish (matte black, brushed nickel, bronze) to existing hardware like faucets and sink fixtures for a cohesive, intentional look.
What Is Bathroom Flush Mount Lighting?
A flush mount light fixture is a ceiling-mounted light that sits nearly flush against the ceiling, with minimal gap between the fixture body and drywall. Unlike pendant lights that hang down on a cord or chain, or semi-flush fixtures that extend 4–6 inches, flush mounts hug the ceiling and typically protrude only 2–4 inches.
Flush mounts come in various styles: traditional domes, modern geometric shapes, frosted glass diffusers, and minimalist designs. The fixture holds a bulb or bulbs, often integrated LEDs in contemporary models, and sits behind a trim ring that’s anchored to a ceiling box. Most have a center nut or screws that secure the canopy (the decorative cover hiding the mounting hardware) once wired.
They’re available in wet-location or damp-location ratings. For bathrooms, you’ll want at least a damp-location fixture, and if you’re placing one directly over a shower or bathtub, a wet-location rated fixture is necessary. Check the UL (Underwriters Laboratories) label on the fixture box, it’ll specify the rating.
Why Flush Mount Fixtures Work Best for Bathrooms
Space-Saving Benefits for Smaller Bathrooms
Small bathrooms are the norm in most homes, and every inch counts. Flush mounts take up virtually no headroom, making them essential for powder rooms, guest baths, and any bathroom with standard 8-foot ceilings. A pendant or chandelier might knock someone’s head or feel cramped: a flush mount disappears into the ceiling and won’t obstruct movement or sightlines.
For larger bathrooms, flush mounts keep the space feeling open and uncluttered. You can place multiple fixtures around the room, over the vanity, above the toilet area, or centered, without creating a visually busy ceiling.
Moisture Resistance and Durability
Bathrooms are wet environments. Steam, humidity, and splash create corrosion risks for standard fixtures. Damp and wet-location flush mounts are sealed, with gaskets and protective coatings that keep moisture out of the fixture body and electrical components. The proximity to the ceiling also reduces direct water exposure compared to wall sconces near the shower.
Most modern bathroom flush mounts use corrosion-resistant materials: anodized aluminum, stainless steel, or sealed metal finishes. Glass diffusers are tempered or frosted to resist fogging and moisture intrusion. If you choose a fixture with a fabric shade or wood details, ensure they’re rated for bathroom use, many are not.
LED bulbs, now standard in quality fixtures, generate far less heat than incandescent bulbs, reducing moisture buildup and extending component life.
Key Design Styles and Materials
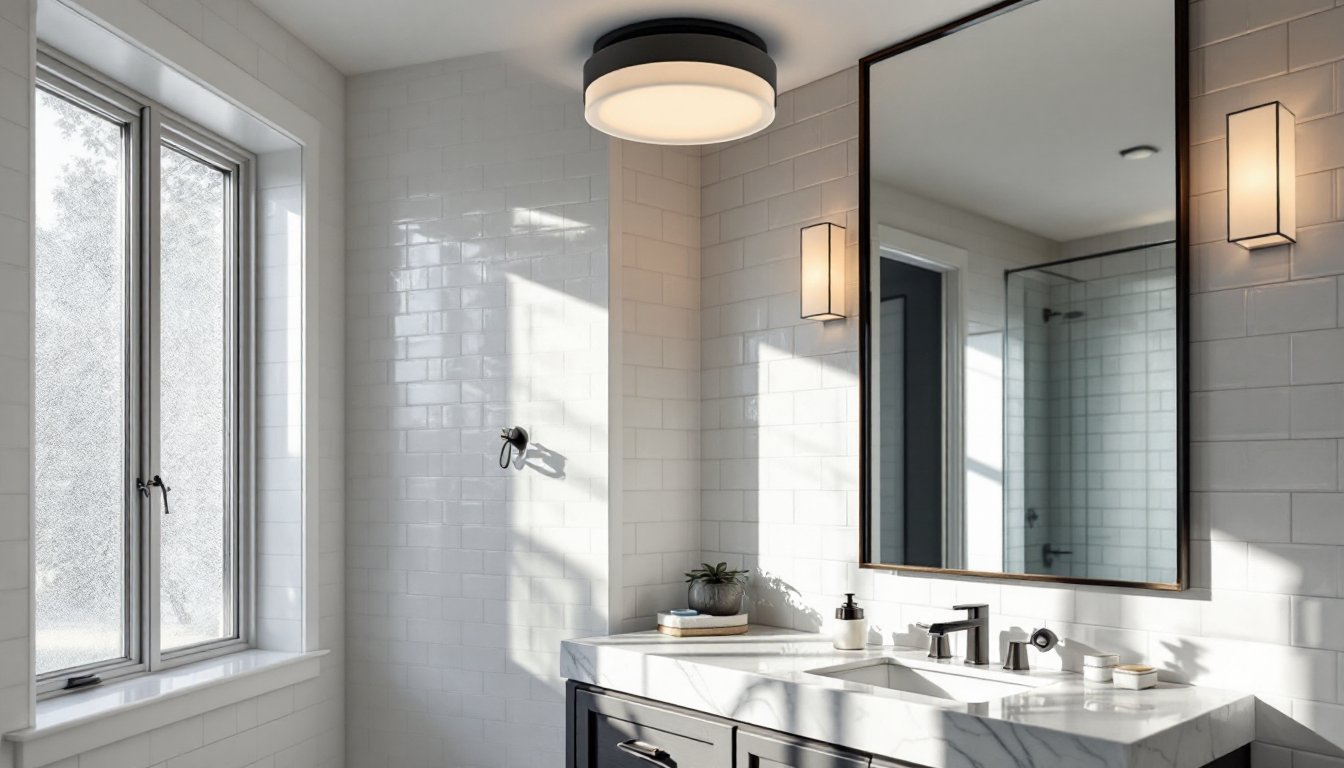
Bathroom flush mounts span a wide range of aesthetics. Modern and minimalist designs feature clean lines, often in matte black, brushed nickel, or white finishes. These pair well with contemporary fixtures and subway-tile walls.
Transitional styles blend traditional and modern elements, think a brushed bronze fixture with a frosted glass shade, and work across most décor schemes. Traditional and vintage-inspired fixtures use bronze, oil-rubbed bronze, or brass finishes with decorative details.
Material choices matter for durability and aesthetics. Aluminum and steel are lightweight and corrosion-resistant: brass and copper add warmth but require maintenance to prevent tarnishing. Glass diffusers, frosted, seeded, or clear, soften light and hide bulbs. Fabric shades are less common in bathrooms due to moisture sensitivity but work in powder rooms away from direct humidity.
Color temperature also shapes the vibe. Warm white (2700K) feels inviting in a spa-like bath, while cool white or daylight (4000K–5000K) is practical over vanities for makeup or grooming. Many 2026 fixtures offer dimmable LEDs, letting you adjust both brightness and sometimes color temperature.
Choose materials and finishes that match your sink, faucet, and existing hardware for a cohesive look. Mixing finishes intentionally (e.g., matte black frame with brass accents) is fine if deliberate: random mixing reads as disjointed.
Choosing the Right Brightness and Color Temperature
Bathroom lighting needs vary by zone. Over the vanity, aim for 75–100 lumens per square foot for grooming tasks. A 40-square-foot bathroom vanity might benefit from a fixture producing 3,000–4,000 lumens, or two smaller fixtures (1,500–2,000 lumens each) on either side of the mirror.
For general ceiling light over the rest of the room, 30–50 lumens per square foot is adequate for moving safely and using the toilet. A 40-square-foot bathroom generally needs 1,200–2,000 lumens total from ceiling fixtures.
Color temperature affects both function and mood. Warm white (2700K) is relaxing and flattering to skin tones, ideal for master baths where you spend time unwinding. Neutral white (3000K–3500K) is balanced and works in most homes. Cool white or daylight (4000K–5000K) is best for vanity lighting if makeup application or detailed grooming is a priority, it mimics natural daylight and reduces color-matching errors when choosing clothes.
Many homeowners use layered lighting: a warm general ceiling fixture for ambiance and cooler vanity lighting for tasks. If your fixture is dimmable, warm white becomes more versatile, bright and neutral for morning routines, dimmed to 30–50% for evening relaxation.
Always check the lumens on the product label, not just wattage. A modern 9W LED can match a 60W incandescent in brightness while using a fraction of energy.
Installation Considerations and Tips
Before buying, confirm your ceiling box type. Standard ceiling boxes hold 50–60 watts: if your fixture exceeds that, you’ll need a heavier-duty box. Many flush mounts list maximum wattage on the box, respect this limit.
Turn off power at the breaker and test the circuit with a non-contact voltage detector to confirm no current is running. This is non-negotiable. Wear safety glasses when working overhead: dust and debris fall constantly.
Check if your bathroom requires permits. Electrical work in wet locations (directly over tubs or showers) typically requires a permit and licensed electrician in most jurisdictions. Damp-location work above vanities is often DIY-friendly but verify local codes. Permits aren’t just bureaucracy, they ensure the fixture is properly grounded and bonded, critical for safety in moisture-rich environments.
Mounting steps vary by fixture, but the general process is: (1) Remove old fixture and confirm the box is secure to the joist. (2) Run new wires if needed, ensuring proper gauge (typically 12 AWG for 20-amp circuits) and GFCI protection for bathroom circuits. (3) Connect wires using wire nuts, twist them firmly until secure, and fold carefully into the box, loose wires cause arcing. (4) Mount the fixture’s bracket to the box, secure the fixture body, and screw on the canopy. (5) Install the bulb and diffuser or shade. (6) Test at the switch.
Two-person job? Not usually, but overhead work tires one person quickly. A partner holding the fixture body while you tighten canopy screws speeds things up and reduces frustration.
GFCI protection is mandatory in bathrooms nationwide (NEC Code). Many modern fixtures include built-in GFCI or are compatible with GFCI outlets/breakers. Confirm this with the product specs.
If you’re unsure at any step, especially with wiring, hire a licensed electrician. A $200–400 service call beats a burnt-out fixture or a house fire.

