When my kitchen’s fluorescent light started flickering and dimming, I knew it was time for a replacement. Changing a fluorescent light fixture might seem daunting at first but I’ve learned it’s a manageable DIY project that can refresh your kitchen’s lighting in just a few hours.
I’ve replaced several fluorescent lights over the years and discovered the process isn’t as complex as many people think. With the right tools and safety precautions, you’ll save money on electrician fees while upgrading to more energy-efficient lighting options. Whether you’re dealing with a faulty ballast or simply want to modernize your kitchen’s look, I’ll guide you through the steps to safely remove your old fluorescent fixture and install a new one.
Key Takeaways
- Replacing a fluorescent light fixture in your kitchen is a manageable DIY project that can be completed in a few hours with the right tools and safety precautions.
- Essential safety equipment includes insulated rubber gloves, safety glasses, a voltage tester, and a non-conductive ladder. Always shut off power at the circuit breaker before beginning work.
- The replacement process involves four main steps: shutting off power, removing old tubes and fixture, mounting the new housing, and connecting the wires correctly (black to black, white to white, green/bare to ground).
- Modern LED alternatives offer 40-80% energy savings compared to fluorescent lights and come in various options including direct-wire tubes, integrated panels, and smart-enabled fixtures.
- Proper testing and troubleshooting after installation is crucial – check for secure connections, even light distribution, and monitor performance metrics like startup time and operating temperature.
Understanding Your Kitchen’s Fluorescent Lighting System
Kitchen fluorescent lighting systems consist of specific components working together to illuminate the space effectively. I’ve encountered various configurations during my years of DIY electrical work, each with distinct characteristics.
Types of Fluorescent Fixtures
Fluorescent fixtures in kitchens come in three primary configurations:
- Surface-mounted fixtures attach directly to the ceiling with exposed housing
- Recessed troffers fit inside ceiling cavities for a flush appearance
- Suspended fixtures hang from chains or rods below the ceiling
Common sizes include:
| Fixture Type | Standard Dimensions |
|---|---|
| 2-lamp T8/T12 | 24″ x 48″ |
| 4-lamp T8/T12 | 24″ x 48″ |
| 2-lamp T5 | 12″ x 48″ |
Identifying Your Current Setup
I start every replacement by examining these key components:
- Ballast type: Electronic or magnetic ballast controls voltage to the lamps
- Lamp size: T12 (1.5″ diameter), T8 (1″ diameter), or T5 (⅝” diameter)
- Pin configuration: Bi-pin or single-pin connections at lamp ends
- Housing style: Direct-wire or plug-in connection to power source
- Mounting method: Surface, recessed, or suspended installation brackets
| Information | Location |
|---|---|
| Input voltage | Top of ballast |
| Lamp type | Side panel |
| Wiring diagram | Inside cover |
| Model number | Front face |
Tools and Materials Needed for Replacement

I’ve gathered specific tools and materials for a safe and efficient fluorescent light replacement in my kitchen, based on my experience with multiple installations.
Essential Safety Equipment
- Insulated rubber gloves for electrical protection
- Safety glasses with side shields
- Non-conductive step ladder (fiberglass or wooden)
- Voltage tester to verify power disconnection
- Dust mask for protection from debris
- Work light or headlamp for visibility
- Extension cord for additional lighting
- Phillips head screwdriver (#2 size)
- Flathead screwdriver (6-inch length)
- Wire strippers (14-22 AWG range)
- Wire nuts (3 yellow, 3 red)
- Needle-nose pliers
- Measuring tape (25-foot length)
- Socket wrench set with extensions
- Mounting hardware:
- Machine screws (8-32 size)
- Toggle bolts (1/4-inch)
- Wire connectors
- Mounting brackets
- Replacement parts:
- New fluorescent fixture or LED upgrade kit
- Compatible bulbs
- Ballast (if keeping fluorescent setup)
- Wire (minimum 14 AWG)
- Junction box (if needed)
- Cable clamps
Step-by-Step Light Fixture Removal
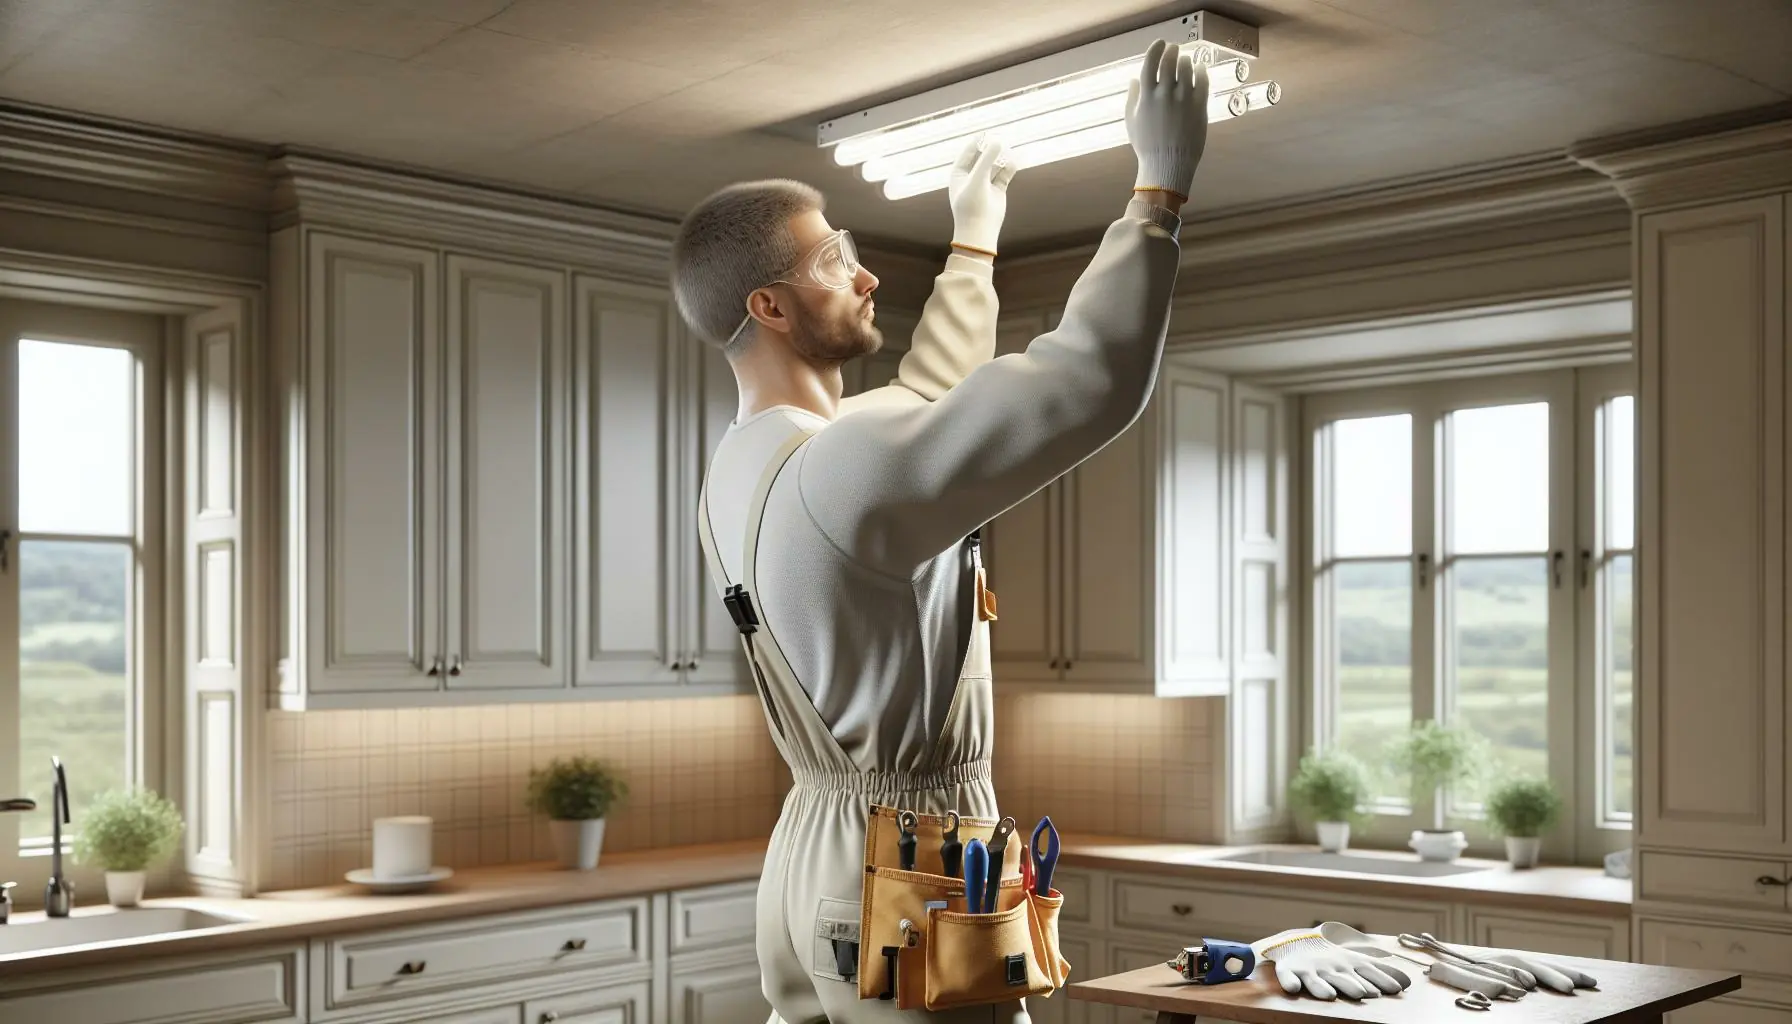
I’ll guide you through the safe removal of your old fluorescent light fixture with these essential steps that protect both you and your kitchen’s electrical system.
Shutting Off Power Supply
I start by locating the circuit breaker that controls the kitchen lights in my electrical panel. Before touching any wires, I test the fixture with a voltage tester at three points: black wire, white wire and fixture housing. I double-check the power status with a working lamp plugged into a nearby outlet – when it doesn’t illuminate, I’m certain the power is fully disconnected.
- Remove the fluorescent tubes:
- Rotate each tube 90 degrees
- Lower it gently from the sockets
- Place tubes in a safe container
- Access the fixture housing:
- Remove lens cover or diffuser panel
- Set aside all screws in a container
- Label wire connections with tape
- Disconnect the wiring:
- Remove wire nuts
- Separate fixture wires from house wires
- Keep ground wire for last
- Detach the fixture:
- Support fixture while removing mounting screws
- Lower fixture gradually with both hands
- Place old fixture in a clear workspace
Note: I handle ballasts with care as they may contain PCBs in older models and require proper disposal through local recycling centers.
Installing the New Light Fixture

After removing the old fixture, I begin the installation process of the new lighting unit. This phase requires careful attention to mounting alignment and proper wire connections.
Mounting the New Housing
I position the new fixture housing against the ceiling junction box, aligning the mounting holes precisely. Here’s my systematic approach:
- Place support screws in the mounting bracket holes
- Insert mounting brackets into the housing track
- Level the fixture using a bubble level
- Mark screw locations on the ceiling
- Drill pilot holes if mounting directly to drywall
- Secure the housing with appropriate anchors
- Tighten all mounting screws evenly
- Strip wire ends to expose 1/2 inch of copper
- Connect black to black (hot wires)
- Join white to white (neutral wires)
- Link green or bare copper (ground wires)
- Secure connections with wire nuts
- Tuck wires neatly into junction box
- Attach fixture cover plate
| Wire Color | Function | Connection Point |
|---|---|---|
| Black | Hot | Black house wire |
| White | Neutral | White house wire |
| Green/Bare | Ground | Copper ground wire |
Testing and Troubleshooting
I’ll walk through essential verification steps to ensure the new kitchen light fixture operates safely and effectively. These checks help identify any potential issues before regular use.
Safety Checks
After installation, I perform these critical safety tests:
- Test the circuit breaker by turning it back on slowly
- Verify the voltage tester shows proper power levels at the switch
- Check all wire connections for secure fastening inside the junction box
- Inspect the fixture mounting screws for tightness
- Confirm the fixture housing sits flush against the ceiling
- Examine the ground wire connection to ensure continuous contact
- Measure even light distribution across the kitchen space
- Check for immediate startup without flickering or delay
- Listen for unusual buzzing or humming sounds
- Monitor the fixture temperature after 30 minutes of operation
- Verify dimmer compatibility if installed
- Test all switches and controls connected to the fixture
- Observe light color consistency across all bulbs
- Compare light output with manufacturer specifications
| Performance Metric | Acceptable Range |
|---|---|
| Startup Time | Under 1 second |
| Operating Temperature | Below 140°F |
| Light Output | 2700-4000K (warm to cool) |
| Noise Level | Below 20 decibels |
| Dimming Range | 10-100% brightness |
Modern Lighting Alternatives
Modern alternatives to fluorescent lighting offer enhanced energy efficiency with superior light quality. I’ve researched extensive options to replace outdated fluorescent fixtures with contemporary solutions that transform kitchen spaces.
LED Conversion Options
LED retrofit kits provide a direct replacement for fluorescent fixtures while maintaining the existing housing. These kits include:
- Direct-wire LED tubes that bypass the ballast
- Plug-and-play LED tubes compatible with existing ballasts
- Integrated LED panels that replace both tubes and housing
- Surface-mount LED fixtures for complete modernization
| LED Type | Lifespan (Hours) | Energy Savings vs Fluorescent |
|---|---|---|
| Tubes | 50,000 | 40-60% |
| Panels | 70,000 | 50-75% |
| Fixtures | 100,000 | 60-80% |
- Smart LED systems with programmable controls
- Motion-sensor activated fixtures for automated operation
- Dimmable LED lights for customizable brightness
- Solar-powered skylights for natural daytime lighting
| Solution Type | Annual Cost Savings | Installation Complexity |
|---|---|---|
| Smart LEDs | $80-120 | Moderate |
| Sensors | $40-60 | Simple |
| Dimmable | $60-100 | Moderate |
| Skylights | $150-200 | Complex |
Replacing a kitchen fluorescent light might seem challenging but I’ve found it’s a rewarding DIY project that anyone can tackle with the right preparation. From my experience proper safety measures and the correct tools make all the difference in achieving professional-quality results.
I’m confident that by following these steps you’ll be able to transform your kitchen lighting while saving money on professional installation. Whether you choose to stick with fluorescent tubes or upgrade to modern LED alternatives the satisfaction of completing this project yourself is worth the effort.
Remember that taking your time and double-checking connections will ensure your new lighting serves you well for years to come.